This post is in collaboration with Amazon Prime. All opinions are my own.
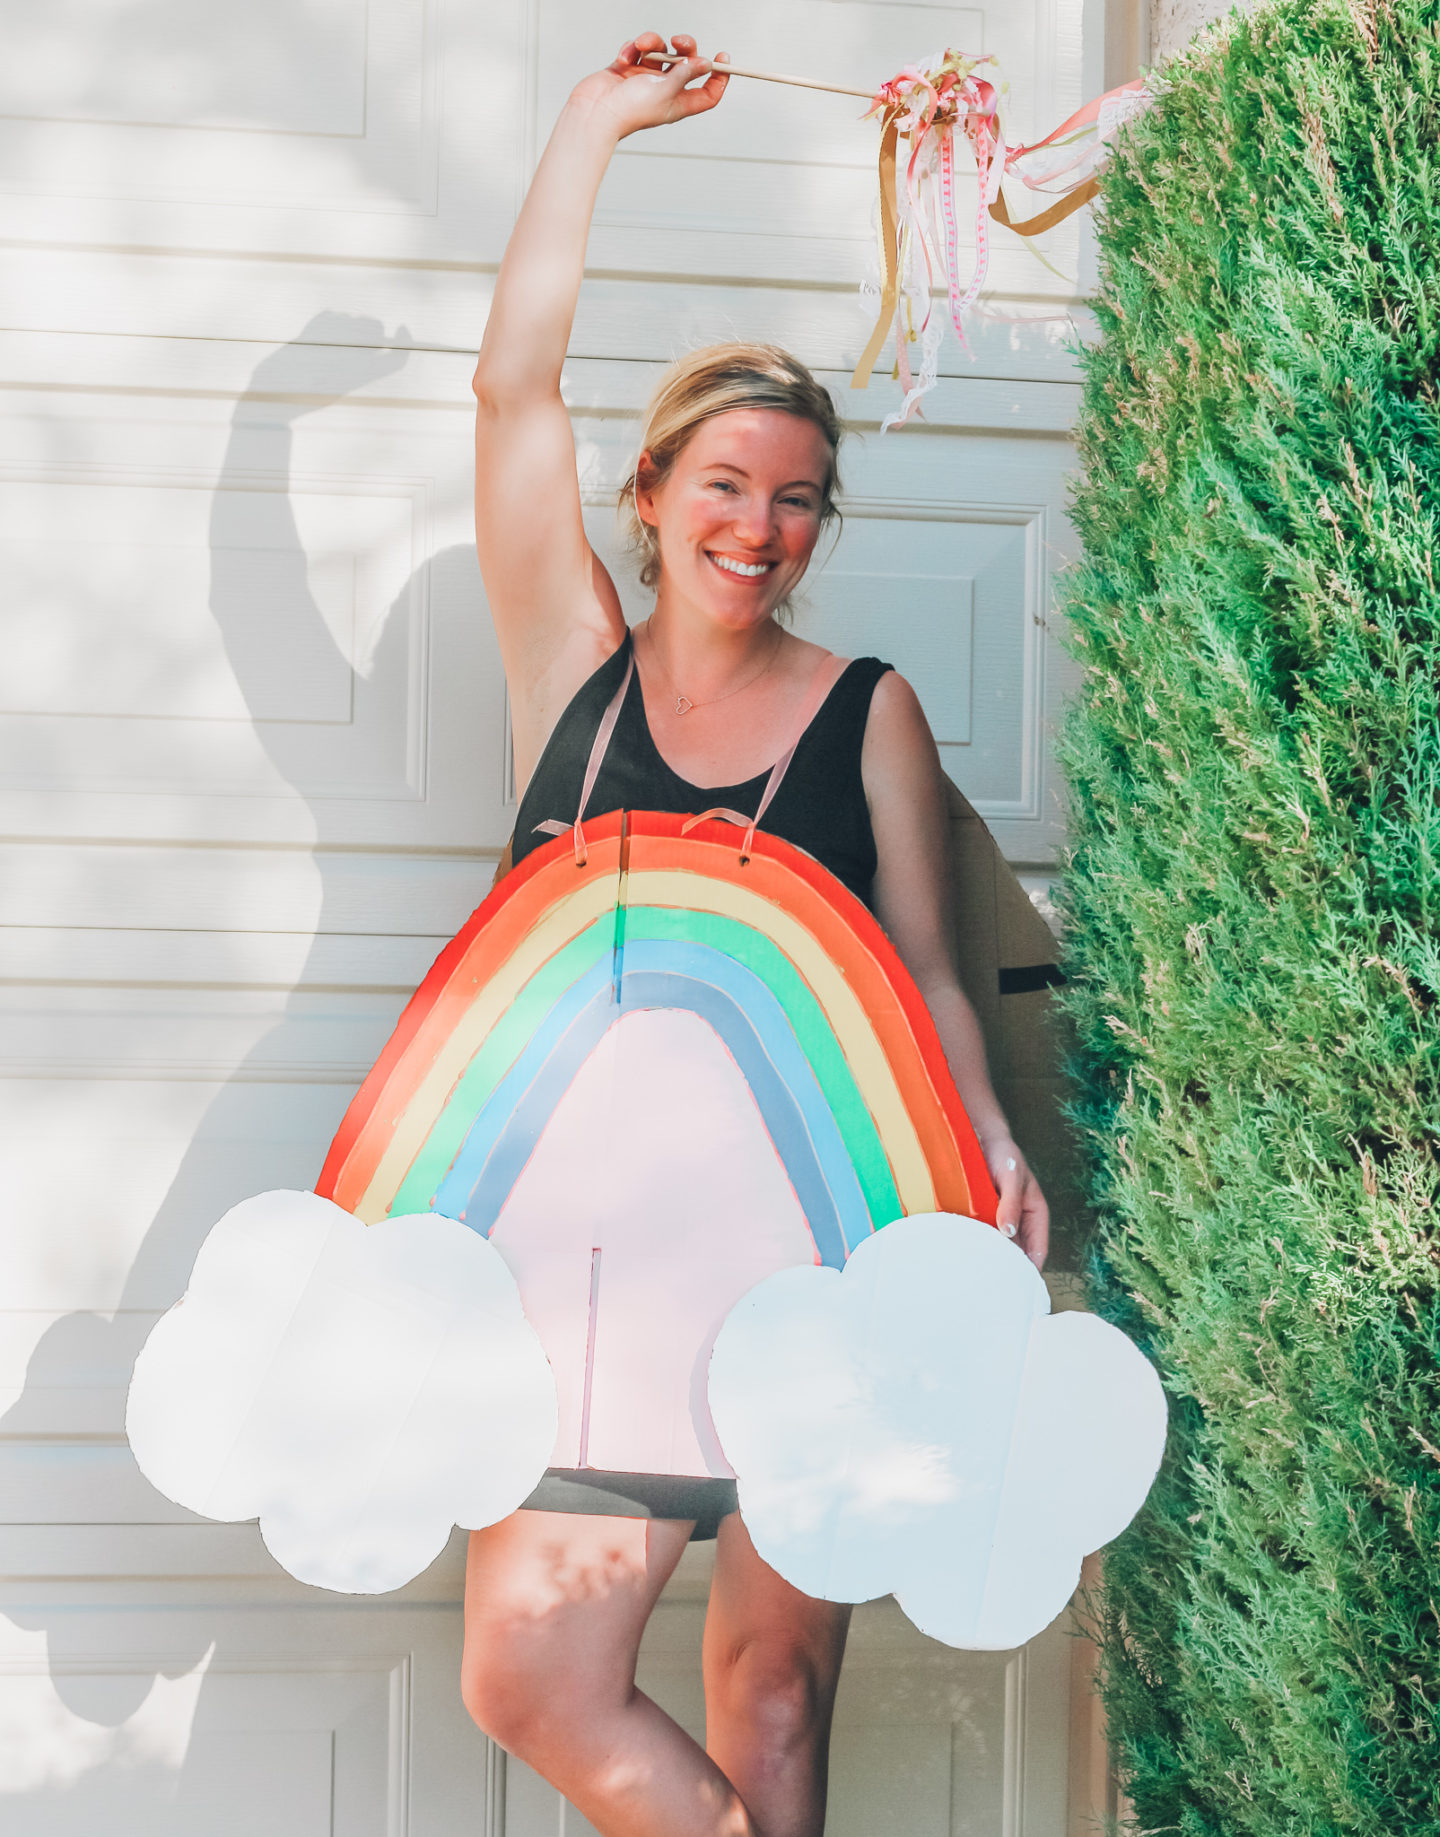
How cute am I? Alright, alright, rain boots, raindrops and all were definitely over-ruled by my toddler-teen (mind you, she is 20 months old). Though I may have tried all the tricks in the book, I wasn’t going to make her do something she did not want to do. However, I ended up trying it on myself, and I am now tempted to make a rain cloud for Ella and, a lightening bolt for Aria, and go as a “The Calm AFTER the storm”!
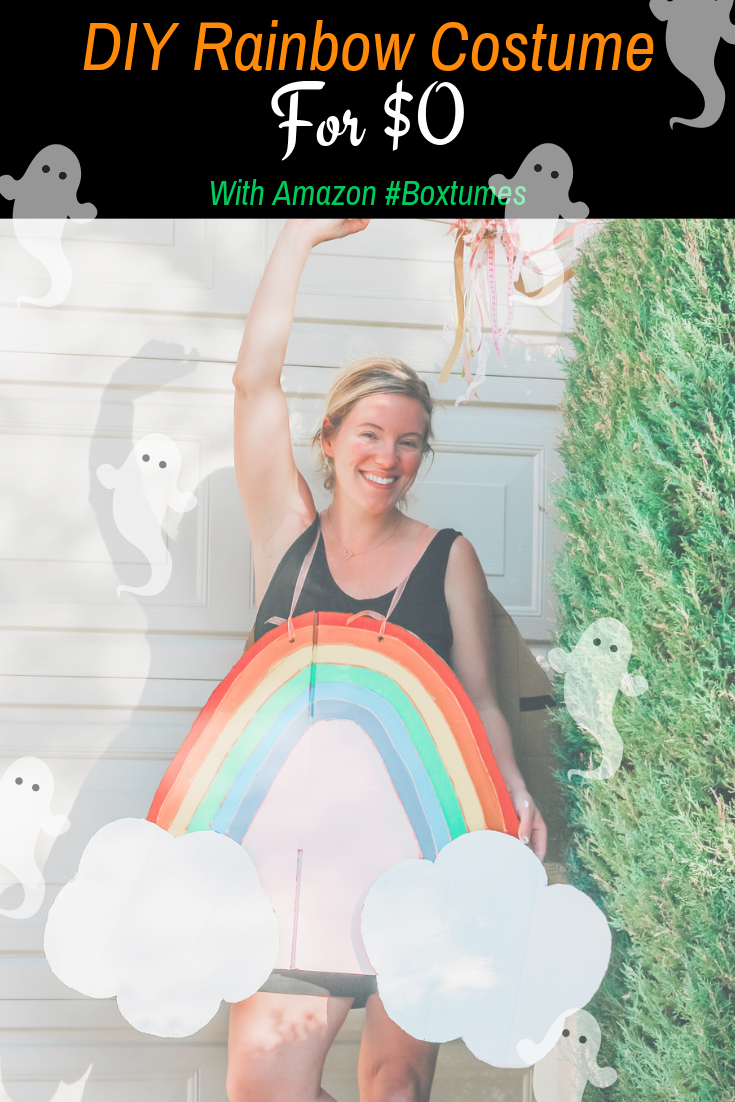
Seriously though, how much money do you spend on Halloween costumes each year? My siblings and I always made our own costumes when we were little, but these days I rarely see the trick-or-treaters in homemade costumes. The idea does sound daunting, even for me! But for literally $0 I was able to make this rainbow costume in under two hours.
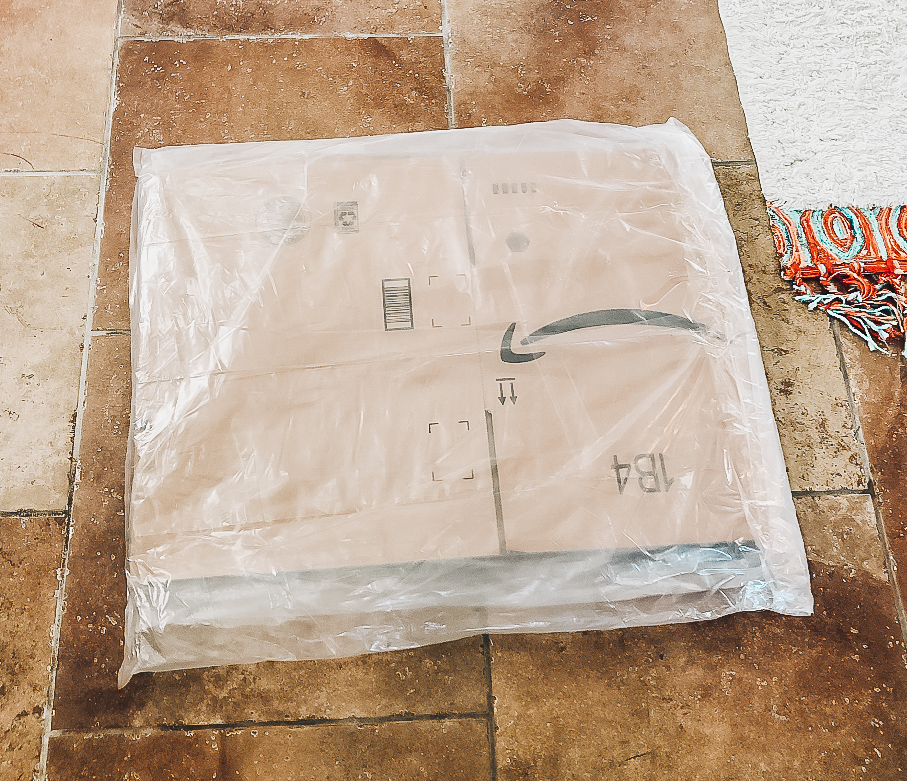
How many Amazon smile boxes are lying around your home? Stacked up in your garage? We all have them, and if you don’t, you probably did or will at some point! Amazon shopping is the most convenient and always supplies the best product selection for practically anything our family needs and as a Prime member we enjoy fast, free shipping! We have enough Amazon smile boxes to move 3 times! (not kidding) Boxtumes are a simple and fun way to create one-of-kind costumes that anyone can make! I was definitely ready for a DIY challenge and had a lot of fun creating this rainbow and clouds costume, even if it involved trial and error and lots of laughter!
It really was a simple and fun project! Below I’ve included the steps I took to make my very own rainbow boxtume!
Supplies:
- Amazon smile boxes (I used 2 large and 1 medium)
- Paint
- Glitter Glue
- String/Ribbon
- Hole Puncher
- Box Cutter
Instructions:
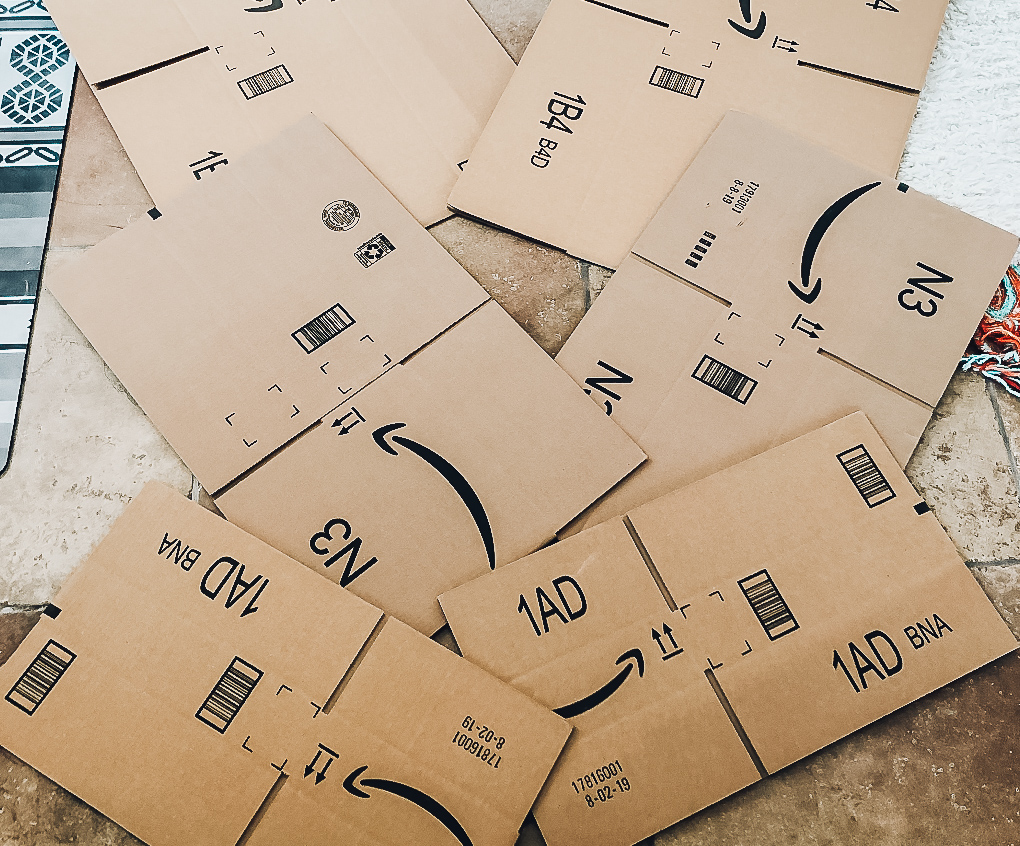
- Cut the two large Amazon smile boxes in half with the box cutter and lay each box flat with the Amazon smile side facing up.
- Using a pencil, draw out the shape of your rainbow on each piece.
- Using the box cutter, cut each rainbow out. It is ok to have the open folding gaps!!
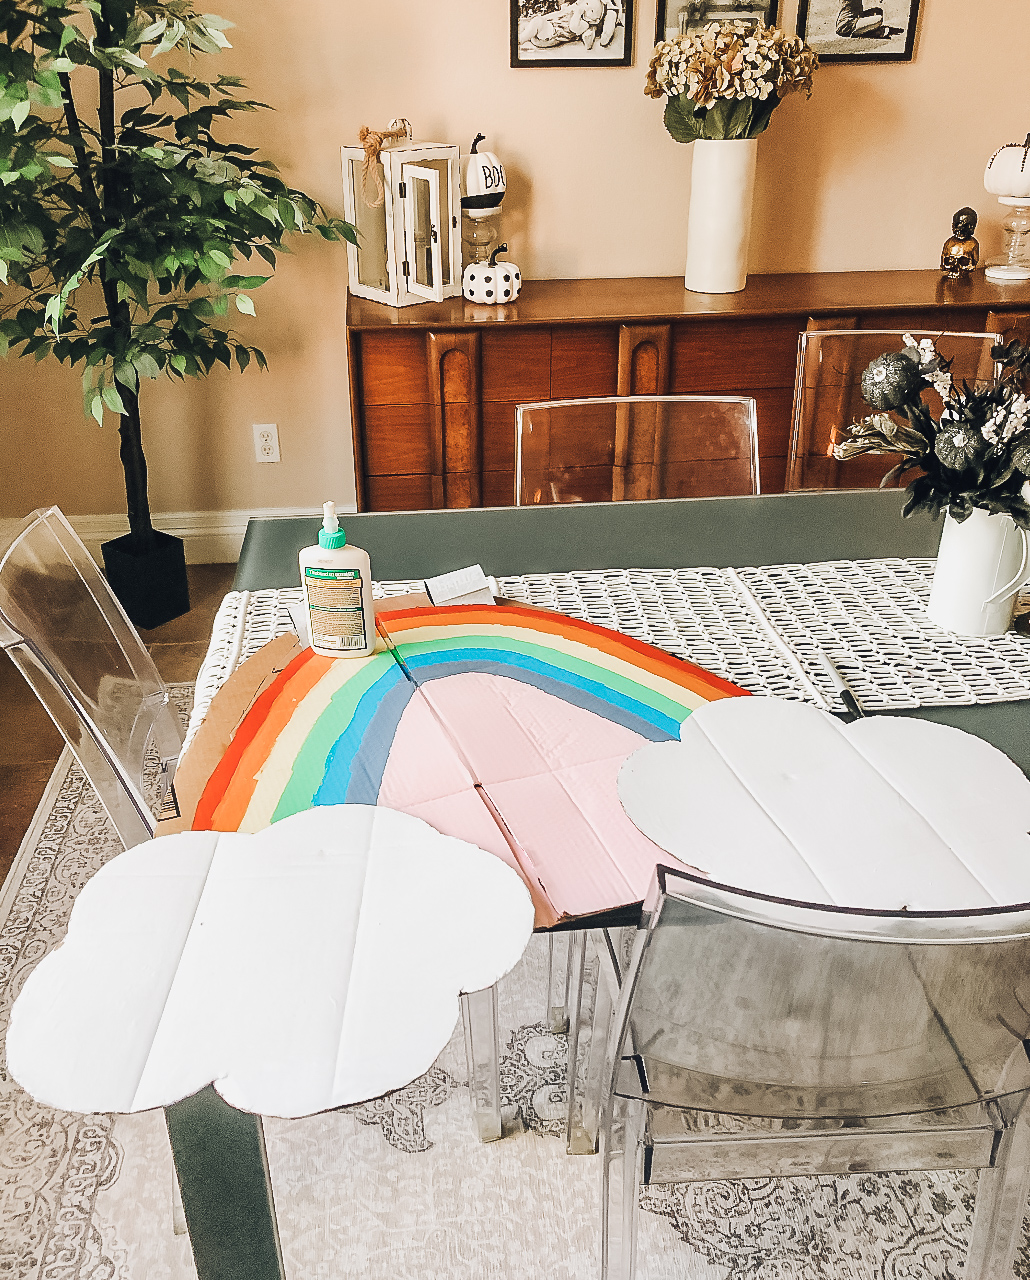
- Flip the rainbows over and on the blank side (without the logo) pencil in the arches of each rainbow.
- Paint the colors of the rainbow in each arch. Do this on both pieces.
- Cut two medium boxes in half and lay each flat with the brand printed side facing up.
- Pencil out the shape of your 4 clouds (two on each piece) and cut out. Flip them to face with the blank side up.
- Paint your clouds white.
- Glue the clouds to the bottom of each rainbow and using the hole puncher, punch two holes at the top of each rainbow shoulder length apart.
- Using your string or ribbon, tie one piece to each hole on the rainbow, and then tie the other ends to the hole on the consecutive rainbow.